One of the oldest debates in photography is whether to use a protection filter on the front of your lens. Many people, like myself, were first confronted with this question when buying their first camera. When I first heard it, all I could think of was the stereotypical used car salesman asking whether I wanted undercoating added to my car.
The idea of spending money to protect something valuable brings with it a long list of pros and cons. The correct answer depends on the equipment you use, where and how you photograph, and your own preferences and priorities.
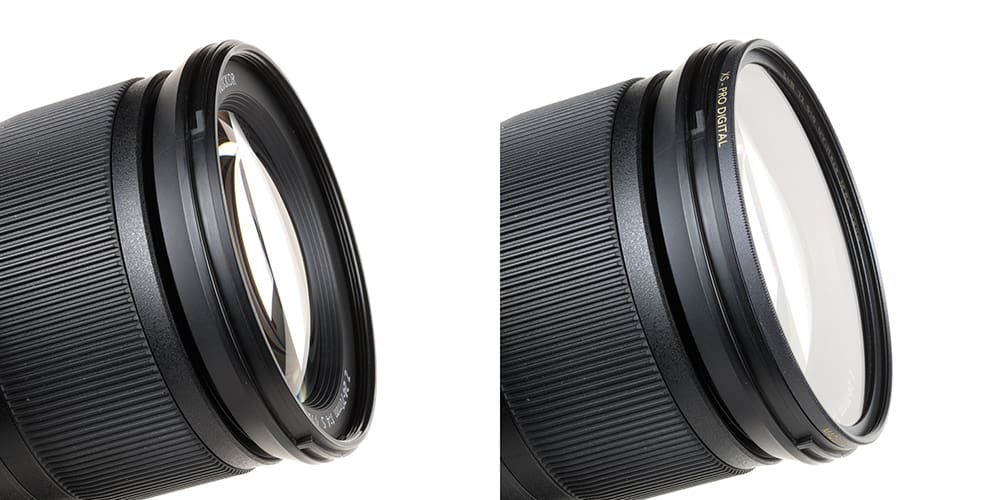
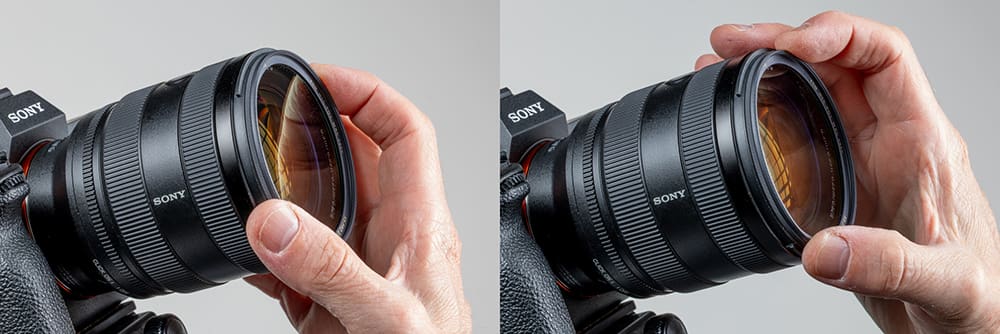
Left: Lens without a protective filter
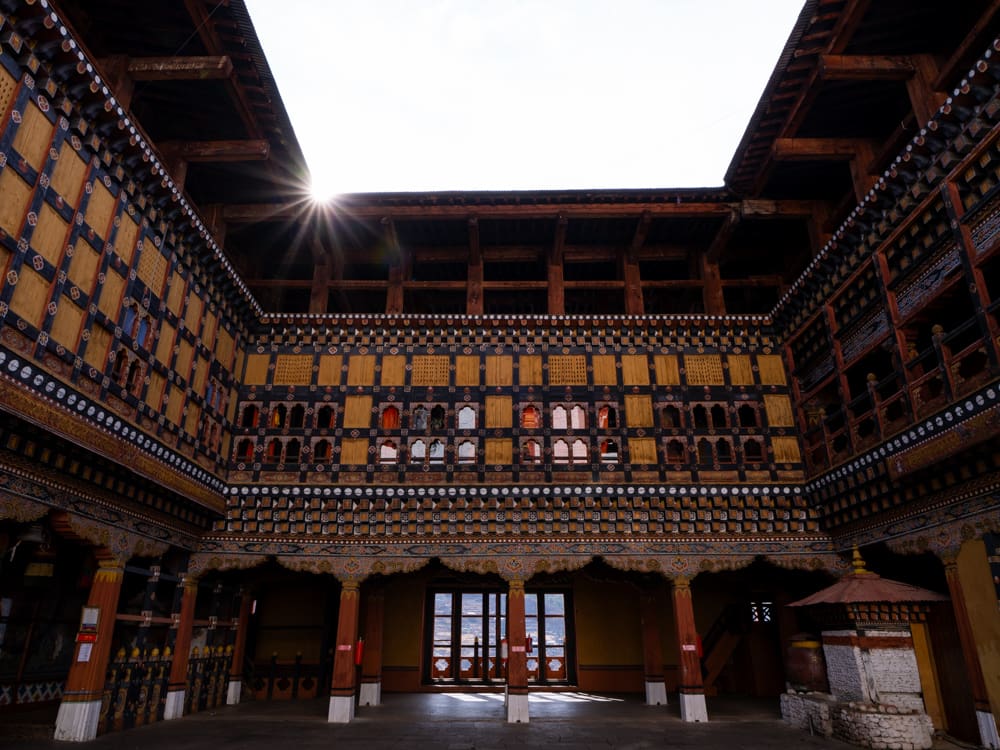
Right: Lens with a protective filter
Why Protect?
The primary reason for adding a protection filter is to protect the front element of your lens from dust, dirt, water, fingerprints, or an accidental scratch. Modern lenses use advanced coatings on the front element for optical reasons. In theory, repeatedly rubbing the front element while cleaning it could cause those coatings to wear down or become scratched. Replacing the front element of a lens is a fairly common but somewhat expensive repair. Expect to pay $300–$700 for such a service.
All lenses need to be cleaned from time to time, and cleaning a filter is usually easier than cleaning a lens because it is easy to access and has a flat surface. Most lenses have front elements with convex curves, and some lenses have recessed front elements that sit far back from the front of the lens, making them challenging to clean.
Rubbing a filter while cleaning can also cause damage through accidental scratches, but filters can be replaced for far less money than front elements.
Clear vs. UV vs. Skylight
The three traditional options for protection filters were UV, or ultraviolet, skylight, and clear filters. Back in the film days, most film emulsions were more sensitive to ultraviolet light from the sun than our eyes are. A UV-coated filter would reduce the blue cast of light and produce a more normal color balance.
The other solution was to use a skylight filter, which added a light pink cast to balance the blue light reflecting from the sky. However, the skylight filter also added a slight warming effect to every photo whenever it was attached. There were two variations, 1A and 1B, which offered a lighter or more intense warming effect.
Clear protection filters have emerged in the digital era as the go-to solution for protection, although UV and skylight filters are still readily available. Choosing a UV filter over a clear filter will not result in a noticeable difference.
Achieving Maximum Resolution
If you want to get the maximum resolution from a lens, adding a filter will not help you. However, the loss in resolution when shooting with a clear filter is small—sometimes very, very small.
The optical quality of filters can vary considerably. You may find a 52mm clear filter for as little as $4 or as much as $70. I can assure you there is a considerable difference between a cheap filter and a quality filter.
From my own testing and the testing of others, a bad filter can reduce your resolution, among other things, while a quality filter may produce no observable difference compared with shooting without a filter. I have seen testing that shows the cheapest filters may reduce sharpness by as much as 10%.
A reasonable-quality filter in a 52mm size that sells for around $35 will most likely not result in any visible resolution loss. It may create a slight technical loss of quality if measured with sophisticated optical equipment. Run the test yourself, and you will likely not see a difference between having the protection filter on or off.
Filter Quality Matters
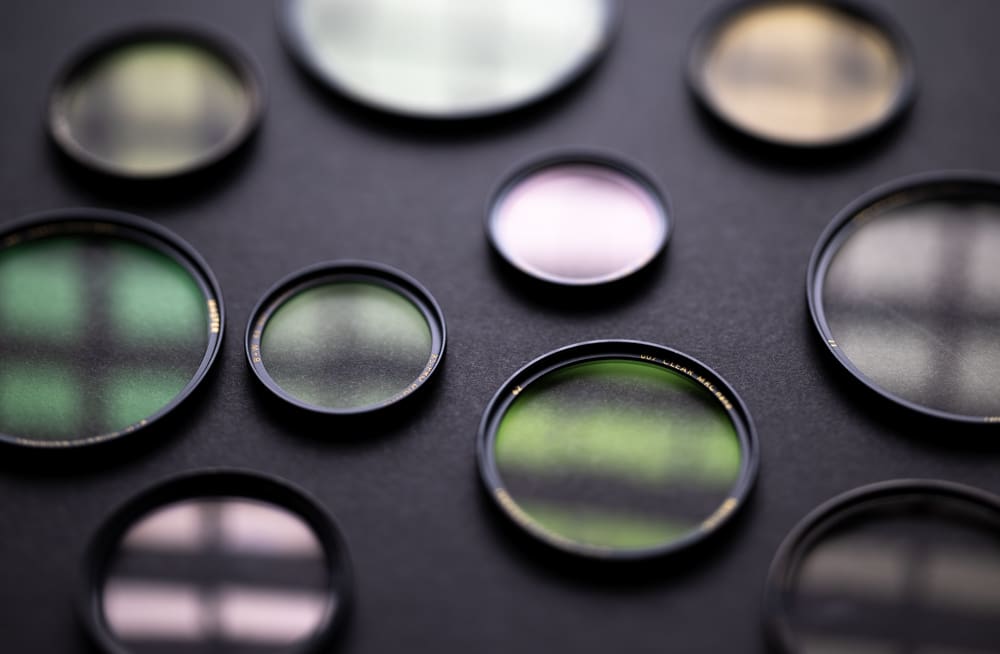
While resolution differences are often quite small, other issues come into play. Light will refract or reflect when it interacts with a glass surface. An uncoated glass surface will reflect about 4% of the incident light rays on each glass surface. Special coatings designed to maximize transmission and reduce refraction and reflections are common on mid- to upper-tier filters. The brighter the light shining directly into the front of the lens, the more important the quality and clarity of the filter become.
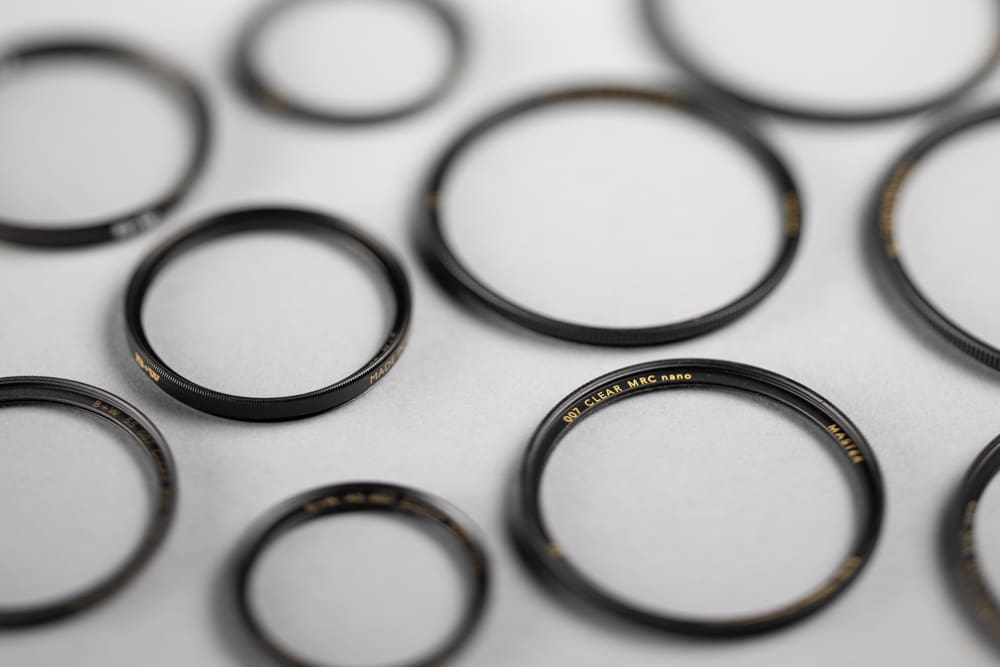
Not all coatings are for optical quality; some are for durability and practicality. B+W filters offer a Multi-Resistant Coating, or MRC, on some of their higher-quality filters. MRC makes the filter resistant to dust, moisture, and even scratches. The coating helps water bead up on the surface and makes cleaning much easier. B+W also offers a more robust version called MRC Nano.
Best Lenses for Filters
There are a few lenses, and even cameras, that require filters to achieve weather, water, or dust resistance. These products have weather sealing in other areas but, for various reasons, do not have sealing at the front of the lens. A number of older Canon EF lenses, including the 17-40mm f/4L USM and EF 16-35mm f/4L USM, require a filter to achieve “adequate dust-and water resistance performance,” according to Canon’s own literature.
The Fujifilm GFX100RF was designed to be as small as possible, and as a result, the front of the lens is not sealed from the elements. Fujifilm provides a filter adapter ring with the camera and recommends using the supplied protection filter to protect against dust or dirt. Adding the adapter ring and filter makes the camera larger, but it also better protects it from the elements.
For non-weather-resistant lenses, a protection filter will not make the lens immune to water and dust, but it may protect the front of the lens from a number of threats.
Lenses Not Designed for Filters
Some lenses are not designed for front filter protection. A number of ultra-wide-angle lenses, such as the Sony FE 12-24mm f/2.8 GM, FE 12-24mm f/4 G, Canon RF 10-20mm f/4 L IS STM, and Olympus 7-14mm f/2.8 PRO, as well as others, have bulbous front elements with no filter threads. While filter adapters are available, they are generally designed for polarizers, neutral density filters, and split ND filters. In theory, you could mount a clear filter onto the adapters, but the bulky adapters would be a very clumsy and awkward piece of gear to work with.
Large telephoto lenses with front elements exceeding 100mm generally do not have filter threads. Filters larger than 95mm become increasingly expensive and impractical in many situations. Professionals on the sidelines of serious sporting events are not using filters on their big lenses. The lens hoods that often accompany those large lenses serve as a layer of physical protection, along with their flare-reducing qualities.
An Overlooked Detail: The Filter Ring
One filter factor that tends to get overlooked is the material and quality of the mounting ring. Aluminum is a lightweight option found in many inexpensive filters. The soft metal is prone to dents and can easily bind with the threads on the lens, causing the filter to become difficult to remove.
Higher-quality filter rings are made with brass, a harder and more durable metal. A brass mounting ring is about three times the hardness of aluminum, which means the threads are much less likely to wear down or become cross-threaded, causing the filter to get stuck on the lens.
I used to demonstrate the difference between aluminum and brass by letting the filters spin like a coin on a hard surface, such as glass or stone. Aluminum makes a light, tinny sound, while brass sounds like a heavy gold coin.
Best Filter Practices
It is best not to stack filters. If you choose to use a clear protection filter, do not stack a polarizer or ND filter on top of it or below it. Take the clear filter off and mount the desired filter directly on the lens. The attached polarizer, ND, or other filter can then act as a protection filter in addition to its primary purpose.
Stacking filters opens the door to resolution drops, light loss, increased flare, vignetting, and more. The most noticeable effect of stacking filters occurs with wide-angle lenses, which can end up showing the filters in the corners of the frame, also known as vignetting.
Notice the dark corners where you can see filters stacked on the lens
Do Filters Protect Against Impact?
One area of protection with clear filters that remains highly debatable is impact damage to the front of the lens. In theory, a clear filter serves as the first line of defense against any foreign object rapidly approaching the front of the lens, such as a rock, hockey puck, or floor surface.
On an anecdotal note, I have personally seen dozens of cameras with impact damage where the protection filter on the front of the camera was broken, yet the rest of the camera and lens were in perfect operating condition. What I cannot know is what would have happened if the filter had not been there.
Filters, in general, are not as strong as lenses. It is possible that protection filters are not protecting the camera as much as we think and are simply breaking because they are not very strong.
One aspect I do feel confident about is that protection filters help protect the filter rings of the lens. A lens drop where the front of the lens strikes the ground first will most likely dent the frontmost filter threads, making them permanently unusable. With a protection filter in place, the lens filter threads are protected by the back side of the protection filter, while the front threads of the filter take the brunt of the damage.
Removing a Stuck Filter
Should a filter get stuck on your lens, here are a few tips for removing it. First, filters do not need to be cranked onto a lens. A light fingertip turn should be all it needs to stay safely attached.
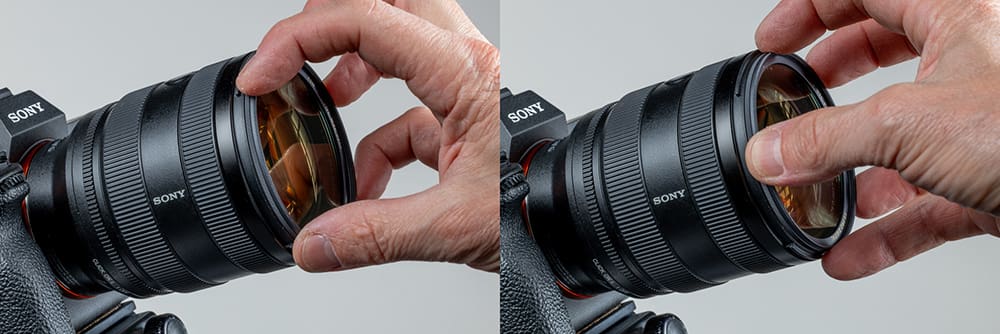
If a filter is difficult to remove, try placing your thumb and middle or forefinger in different positions around the lens. Sometimes, when putting a filter on, we squeeze the ring into a slightly oblong shape, and it gets stuck because of this. With this method, we are trying to find the same finger position that was used when the filter was attached.
A second method is to use all the fingers on one hand, spread evenly around the ring. With this method, try to keep even pressure on all sides of the stuck filter. With both of these first two techniques, it is often better to grip the filter with as little pressure as possible. This may seem like the opposite of how to remove something that is stuck, but distorting the mounting ring is one of the most common reasons a filter becomes difficult to remove.
I wish I had recorded the faces of people who asked me for help removing a stuck filter. They would demonstrate how tightly the filter was stuck by trying to open it like a jar of pickles. I would then pick the lens up like a Fabergé egg, lightly bring my free hand down onto the filter, and, with the lightness of picking up a human hair, unscrew the filter. It was the closest I have ever come to being a magician or superhero.
For filters stuck beyond the special techniques listed here, you will need some tools. The first solution is to use a rubber or grippy mat. Place the lens face down on the mat, which should be on a sturdy, flat surface. While pushing downward on the lens, turn the lens against the mat. For the next level of tightness, you might need a filter wrench, which can be purchased at a quality camera store. The final solution is more radical and not for the faint of heart: a hacksaw.
The Biggest Downside: Flare
The one clear downside beyond cost or convenience is flare. With direct sun or bright lights hitting the front of the lens, lens flare can result in a loss of contrast and overexposed flare spots. Any attached filter—clear, UV, polarizer, or ND—that is not part of the designed optical formula is susceptible to flare.
Higher-quality protection filters offer better coatings to reduce flare, but in more extreme situations, flare is sometimes unavoidable. The solution is to remove the protection filter for those types of shots. While inconvenient, it is an easy solution to a problem that most photographers experience only a small percentage of the time.
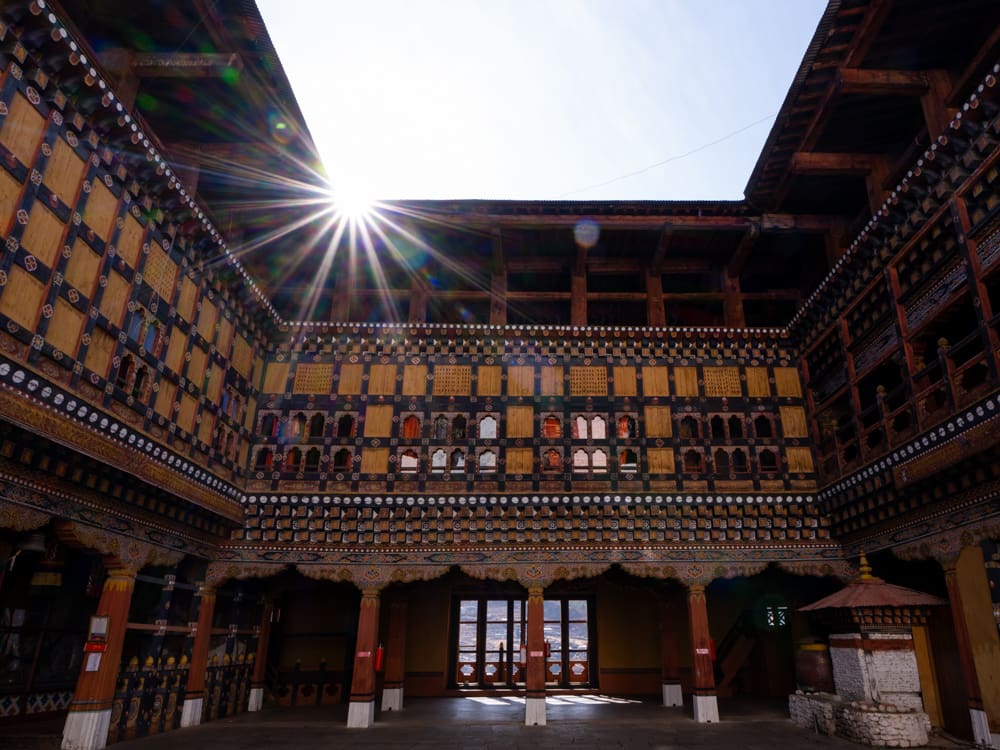
ABOVE: With clear filter
Below: Without clear filter
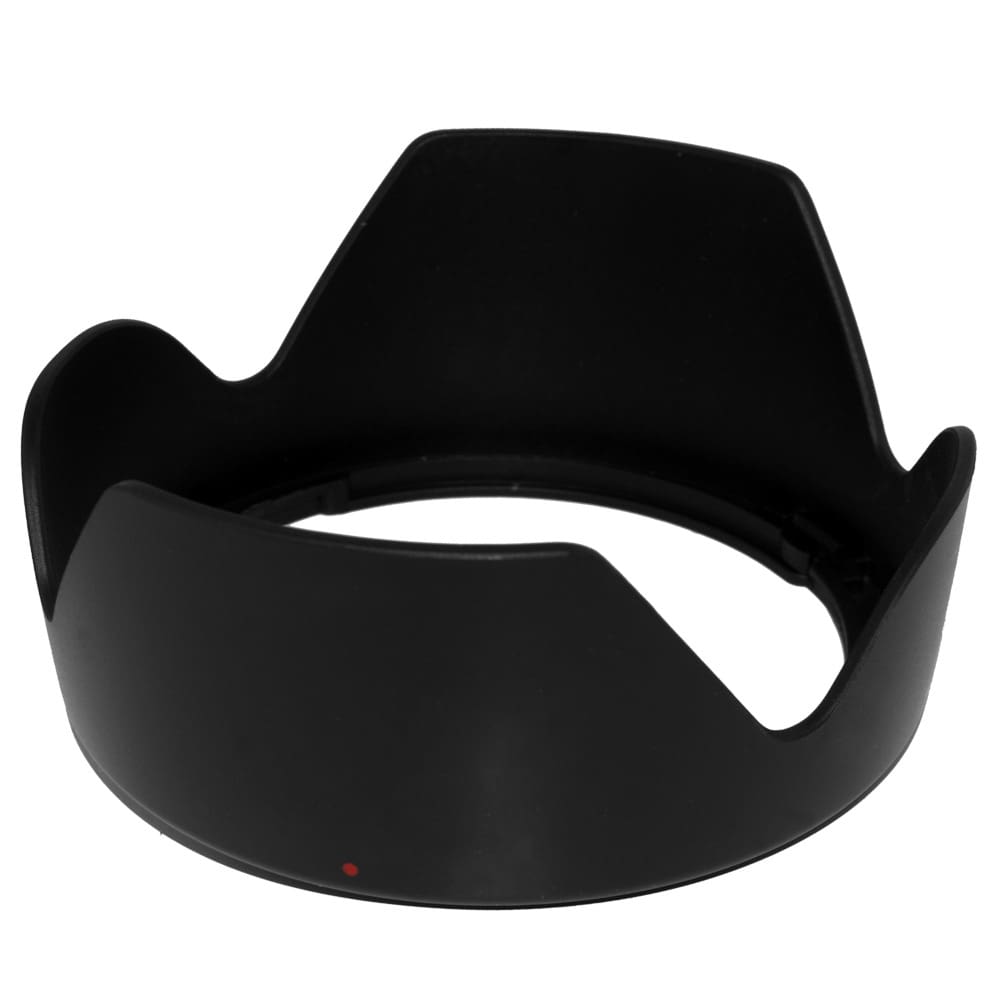
Don’t Forget the Lens Hood
Lens hoods play a vital role in getting the optimum quality from a lens. Hoods, or shades, block light from hitting the lens elements, which otherwise might suffer from a loss of contrast or flare caused by reflections within the lens. Lens hoods can also serve as a bumper on the front of the camera to protect the front element, possibly reducing the need for a protection filter.
Lens hoods should almost always be used to maximize image quality. They can be used with or without protection filters. Be advised that most lenses have a specific hood designed especially for their focal length, so it is generally unwise to swap hoods from one lens to another.
What About the Lens Cap?
Lens caps are good when storing a lens for a prolonged period of time. If you ever expect to grab your camera for a quick shot, you should not use a lens cap. A protection filter is a good way to protect your lens, and adding a lens cap to a protection filter is an unnecessary additional step.
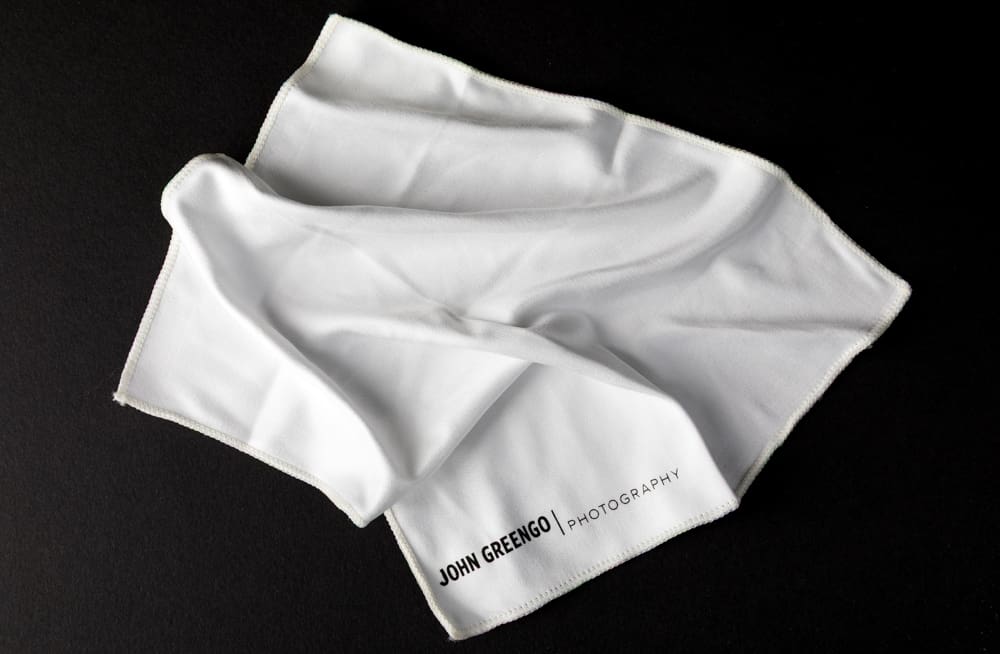
Cleaning Tips
The easiest tool and technique for cleaning a lens or filter is a microfiber cloth used in a circular motion. Keep a small cleaning cloth in a clean location and shake out any contaminants before use. For dried water drops or fingerprints, I will add a breath of warm air before using the cleaning cloth to provide a little additional friction.
I once heard from a camera technician that the warm air from human breath is slightly toxic to lens coatings. I am not sure how much toxic breath it would take to wear the coatings off a lens, but in my 40 years of experience, I have not seen it.
So… Who Needs a Protection Filter?
The need for protection greatly depends on how you plan to use your equipment and how careful you are. For the well-coordinated studio photographer who keeps their gear in a locked hard case and only brings it out once the model is on set, a protection filter does not seem necessary.
For the photojournalist working in the Sahara Desert photographing camels at close range, a protection filter would be highly recommended for that use case and type of work.
Most of us, however, are somewhere between these two extremes. Protection filters come at a cost. Currently, you can expect to pay between $35 and $100 USD for many normal-sized, quality filters. Using these filters may require infrequent removal for flare or for the use of other filters. The rest of the time, they allow you to avoid the dreaded lens cap and protect your lens in a number of situations.
If you own a lens whose front element or elements move back and forth behind the filter threads, a protection filter can be particularly effective. Front elements that move back and forth are more susceptible to dust and water making their way inside the lens through the moving parts. Adding a seal to the front of such a lens can greatly improve its dust and water resistance.
If you are careful with your gear and do not expose yourself to harsh environments, avoiding protection filters is a reasonable decision.

My Take
I am a cautious guy, and fitting my lifestyle, I use protection filters on most of my lenses. I detest lens caps and the time wasted taking them on and off, not to mention misplacing or losing them. I use protection filters so I do not think twice about cleaning a front element. I like travel, landscapes, and street photography, and I would rather spend less time worrying about my gear and more time thinking about the subject and composition.
After years of use, some protection filters acquire scratches from cleaning or general wear from being used in the real world. If the accumulation of wear seems like it might start affecting image quality, I replace the protection filter. It might take five, ten, or more years of use before I see the need to replace the filter.
I have several lenses where filters just do not work: fisheyes, ultra-wide-angle lenses, large telephotos, and a macro lens with its front element buried well behind the front of the lens. With these lenses, I treat them just a little extra carefully.
Choosing whether to use a protection filter is a personal choice. Only you know what is right for you. Look at what you have, what you do, and how you do it to know if it is right for you.
Become part of John’s inner circle
Sign up for the newsletter here — it’s free.
Want to become a better photographer?
Check out John’s selection of photography and camera classes here.